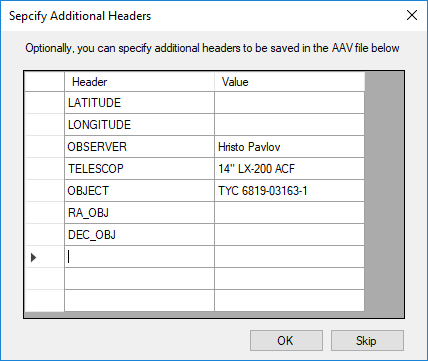
| Header |
Value |
Description |
| SIMPLE |
T |
C# FITS: 16/10/2018 10:23:02 PM |
| BITPIX |
-32 |
|
| NAXIS |
2 |
|
| NAXIS1 |
720 |
|
| NAXIS2 |
576 |
|
| INSTDELY |
-1.084 |
Instr. delay in sec. for x64 frames integration |
| TELESCOP |
12" LX-200 ACF |
Copied from AAV2 file headers |
| RA_OBJ |
|
Copied from AAV2 file headers |
| OBSERVER |
Dave Gault |
Copied from AAV2 file headers |
| OBJECT |
Quaoar |
Copied from AAV2 file headers |
| LONGITUD |
|
Copied from AAV2 file headers |
| LATITUDE |
|
Copied from AAV2 file headers |
| DEC_OBJ |
|
Copied from AAV2 file headers |
| REC-VER |
3.6.17 |
Copied from AAV2 file headers |
| REC-SOFT |
Tangra |
Copied from AAV2 file headers |
| ADVLIB |
2.0 |
Copied from AAV2 file headers |
| VIDEOFMT |
NTSC |
Native analogue video format |
| TANGRAVE |
Tangra v3.6.17 |
Tangra version |
| CAMERA |
WAT-910BD |
Video camera model (observer specified) |
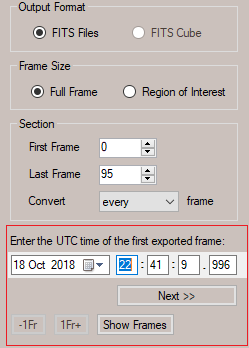
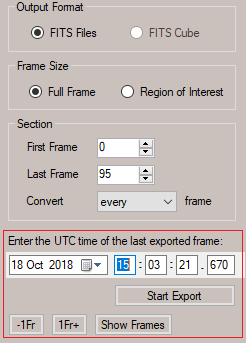
| DATE-OBS |
2018-08-26T15:03:21.670 |
Date and Time are user entered & computed |
| EXPOSURE |
2.560 |
Exposure, seconds |
| NOTES |
No instrumental delay has been applied to DATE-OBS. |
|
| FRAMENO |
0 |
|
| EXTEND |
T |
Extensions are permitted |
| FILENAME |
180726_Quaoar+.aav |
|
| BSCALE |
1 |
|
| BZERO |
0 |
|
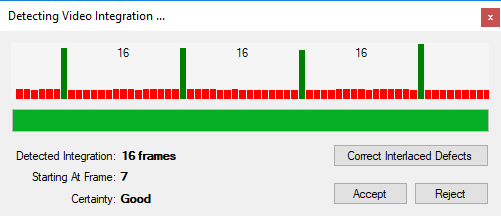
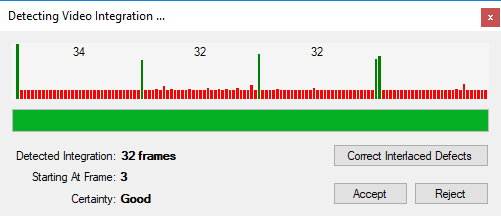
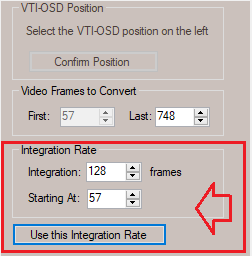
| INTGRRTE |
64 |
Integration rate in video frames |
Analogue video data will be exported as 32-bit floating point values in the range 0 to 255 ADU.